Getting the OS installed and onto your network

By Raviteja KNTSUpdated July 9, 2026
You've picked a machine and picked an OS. Now the part most guides skip straight over: actually getting that OS onto the machine, onto your network, and reachable.
By the end of this you'll have a server that's on, sitting on your network at an address that won't change, quietly waiting for you to connect. No app yet, just a solid base.
Put the installer on a USB stick
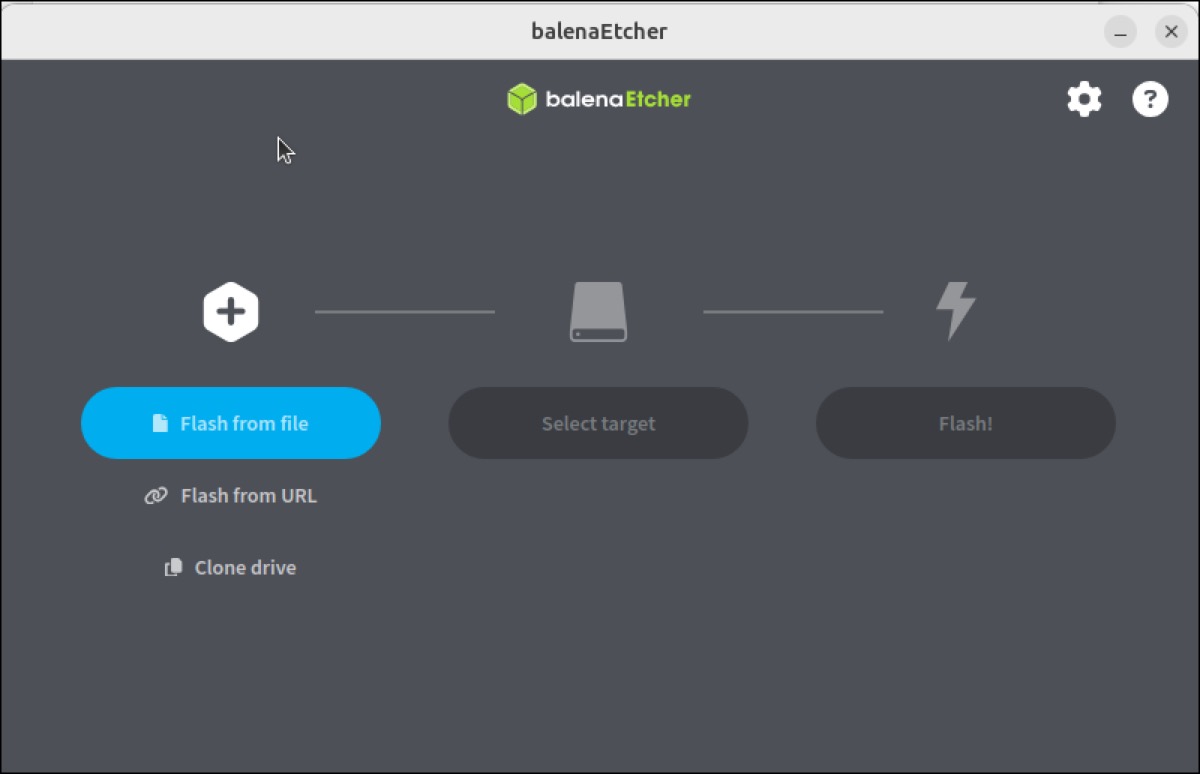
The OS comes as a single file called an image. You write that image onto a USB stick, then boot the machine from the stick to install it. Download the image from the OS's site first, Ubuntu Server or Debian if you're following along, then write it with a free tool: balenaEtcher works on any computer, Rufus is the common one on Windows. Point it at the image, point it at the USB stick, hit go.
Boot the machine and run the installer
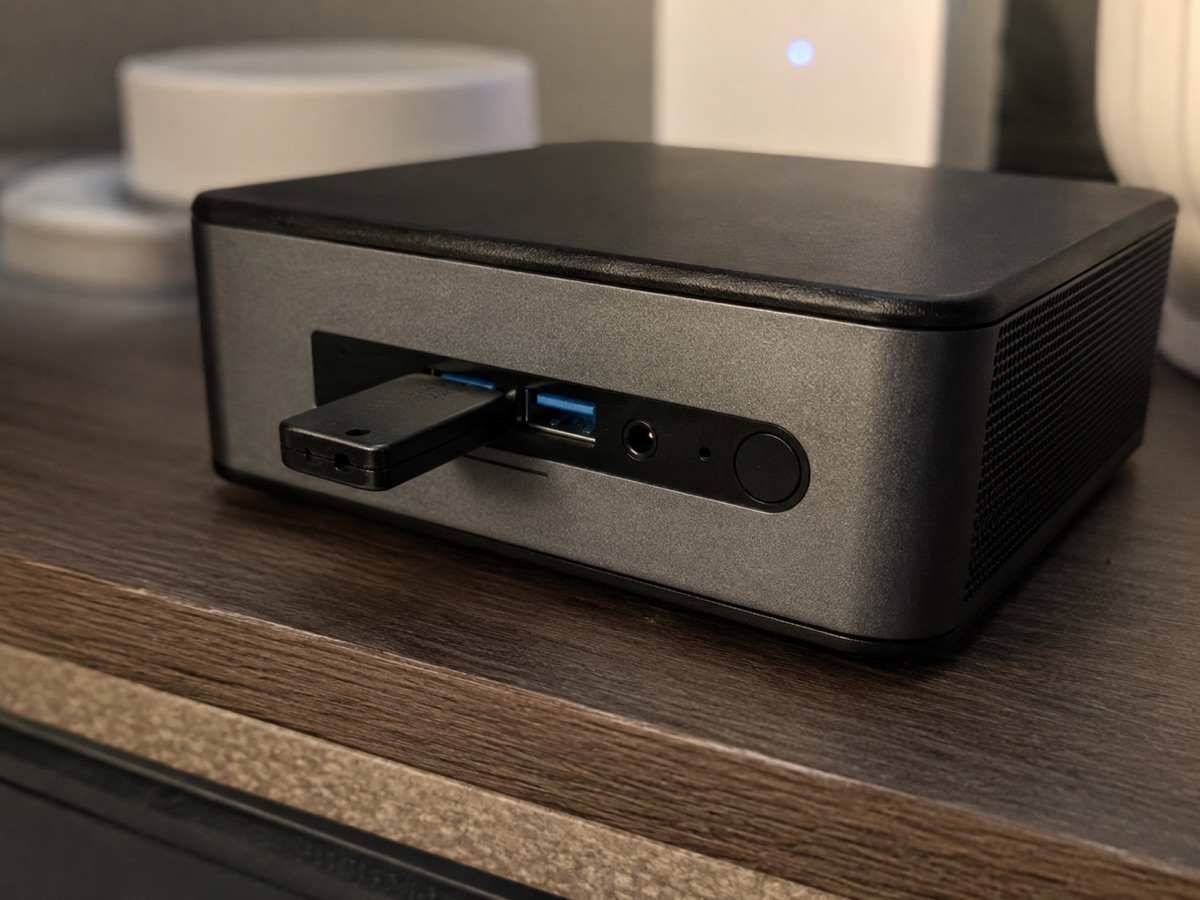
For a mini PC or an old PC, plug in a monitor and keyboard for now. You'll unplug them once SSH works; this is just for the install. Put the USB stick in and turn the machine on, and as it starts, tap the boot-menu key so it boots from the stick instead of its internal drive. That key is different on every machine, usually F12, F11, Esc, or Del, and the screen often flashes it for a second. If it boots normally into nothing, restart and try the next key.
From there the installer walks you through it: language, keyboard, disk. Two choices in the middle matter more than the rest.
- Create your user. A username and a password you'll remember. This is the account you'll log in with from now on.
- Turn on the SSH server. Ubuntu Server literally shows a checkbox for "Install OpenSSH server", tick it. This is the switch that lets you connect from your own computer later. Forget it and you'll be stuck typing on the machine directly.
Let it finish, remove the USB stick when it asks, and let it reboot into the fresh system.
Get it on the network and find its address
Plug the server into your router with an Ethernet cable. You can do Wi-Fi, but a cable is one less thing to configure and more reliable for something that runs all the time. It'll join the network on its own.
If Ethernet genuinely isn't an option, say your server is a laptop living in another room, set Wi-Fi up inside the installer when it offers (Ubuntu's installer has a network step, and Raspberry Pi Imager sets it before first boot). Adding Wi-Fi from the command line after the fact is far more fiddly, so do it now, not later.
Now you need the server's IP address, the number your own computer will use to reach it. Log in right on the machine with the username and password you just created. What you land in is a terminal: a plain text screen that takes typed commands, and the thing the next lesson makes you comfortable with. For now, type exactly this and press enter:
ip aLook for a line under your Ethernet connection like inet 192.168.1.50. That 192.168.1.50 is your server. If you'd rather not touch the machine, open your router's page in a browser and look at its list of connected devices; the server will be in there by its hostname.
Make the address stop moving
Here's the catch: by default your router can hand the server a different address every time it reboots. You're about to depend on that address for everything, so pin it down. The setting lives on your router and is usually called a DHCP reservation or a static lease. You reach your router's settings by typing its address into a browser, usually 192.168.1.1 or whatever is printed on the router's label, and logging in. Find your server in the device list, reserve its current address, and save.
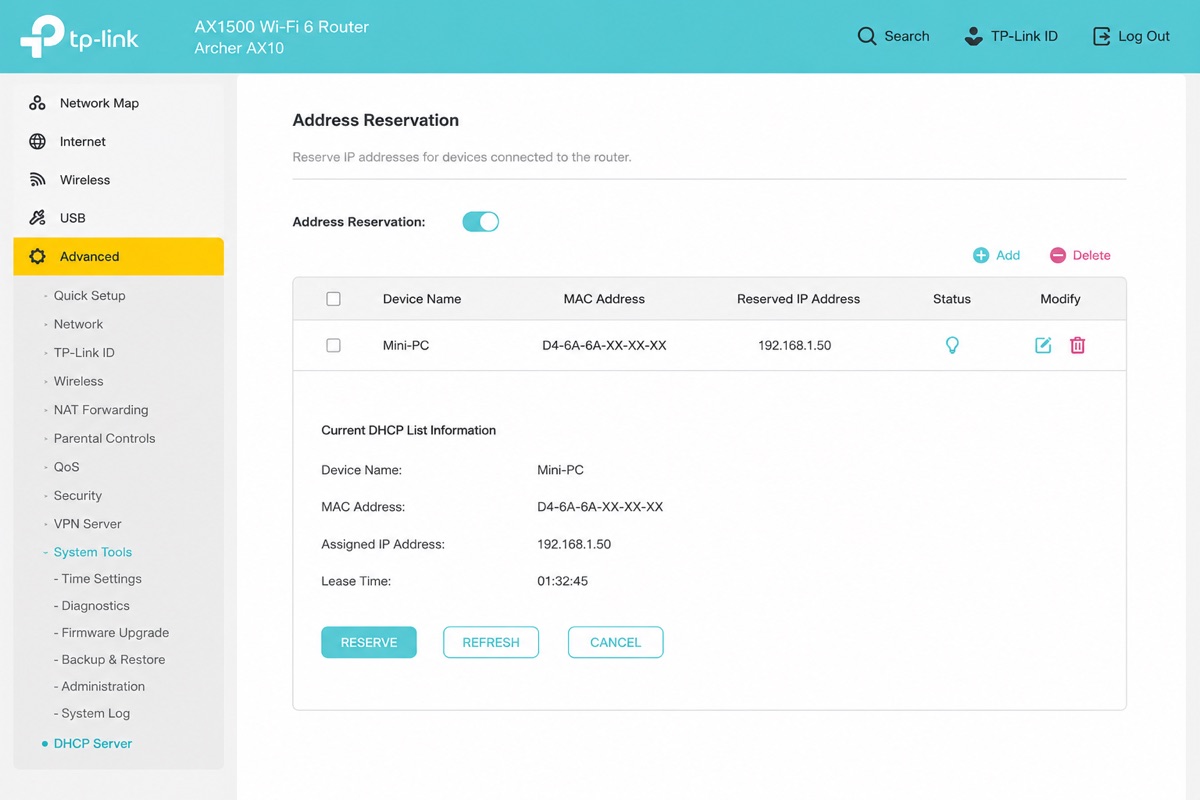
That's the whole foundation. The server is on, at 192.168.1.50 for good, with SSH ready. You can unplug the monitor and keyboard now, it's headless from here. Next we actually connect to it and learn the handful of commands you'll use to run it.